出于仿真的需要,希望在Unreal中能模拟鱼眼镜头的畸变效果,看到UE官方提供了Lens Distortion和OpenCV Lens Distortion两款插件用于模拟镜头畸变,但可惜相关资料不多。UE的博文UE中的相机标定、畸变模拟与矫正 - Unreal Engine做了些介绍,但步骤却又不是很详尽,初学者如我使用时不免多绕了些路,遂写下此文。
插件介绍
这里结合UE中的相机标定、畸变模拟与矫正 - Unreal Engine的介绍,总结如下:
- Lens Distortion和OpenCV Lens Distortion用的camera model是一样的,背后的原理也类似。都是根据相机畸变参数生成displacement map,以此模拟镜头畸变
- Lens Distortion没有标定功能,且只包含了畸变系数的前几项
- Lens Distortion通过shader生成displacement map,而OpenCV Lens Distortion通过OpenCV的API用CPU计算生成,前者效率更快。不过由于displacement map通常只生成一次,这里的效率差异不太重要
补充:什么是displacement map?
A displacement map is a type of texture that is used in 3D computer graphics to create the illusion of depth and detail on a surface without actually changing the geometry of the mesh. A displacement map is typically a grayscale image where the brightness values of each pixel correspond to the amount of displacement that should be applied to the surface at that point.
When a displacement map is applied to a mesh in a 3D modeling or animation software, the software uses the brightness values of the displacement map to modify the position of the vertices of the mesh. This creates the illusion of bumps, ridges, and other surface details on the mesh, without actually changing the underlying geometry of the mesh.
It’s important to note that the amount of displacement applied to the mesh depends on the intensity of the brightness values in the displacement map, and the software’s settings for how to interpret those values. Different software packages may have different ways of handling displacement maps, so it’s important to consult the documentation or tutorials for your specific software to understand how to use displacement maps effectively.
步骤
创建工程
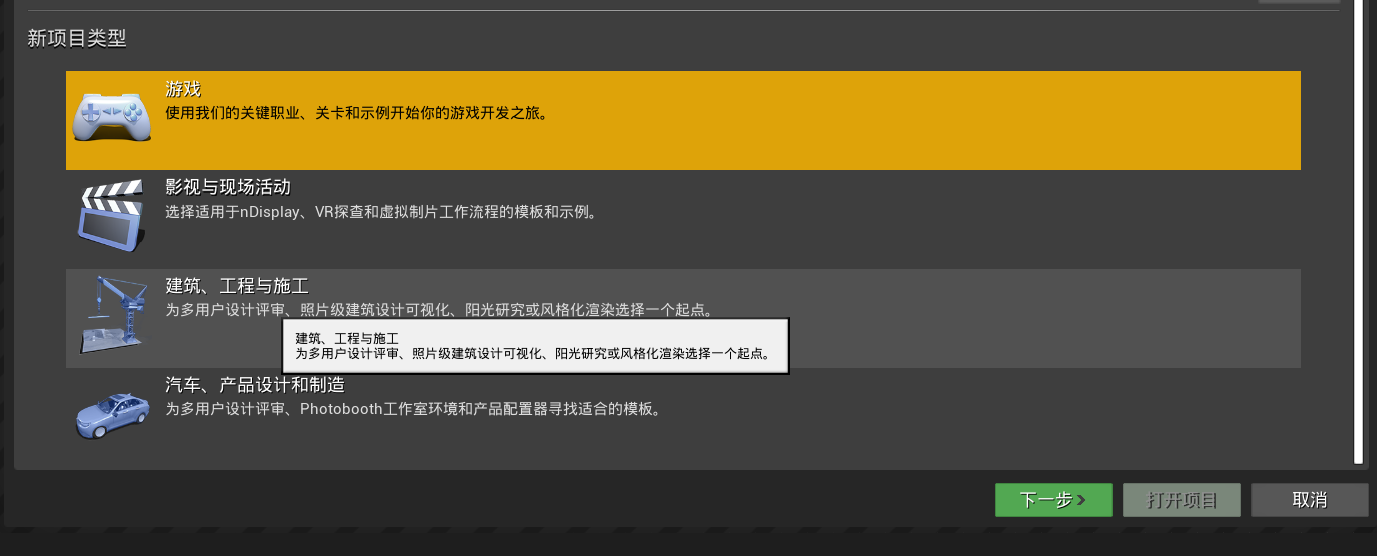
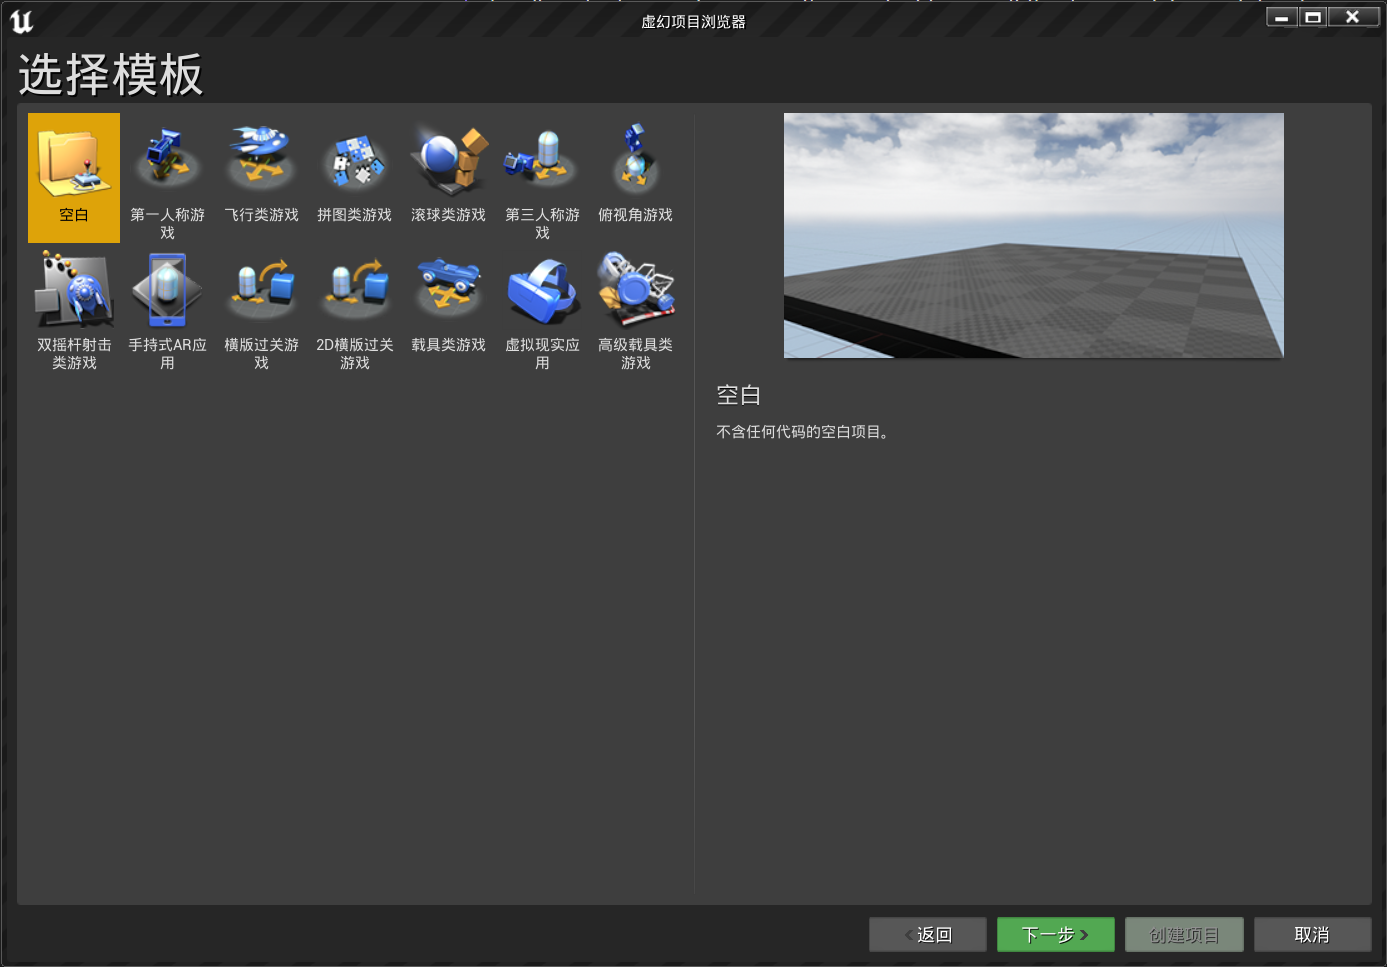
启动Unreal Editor,新建“游戏”或“影视与现场活动”的工程,模板选择“空白”即可
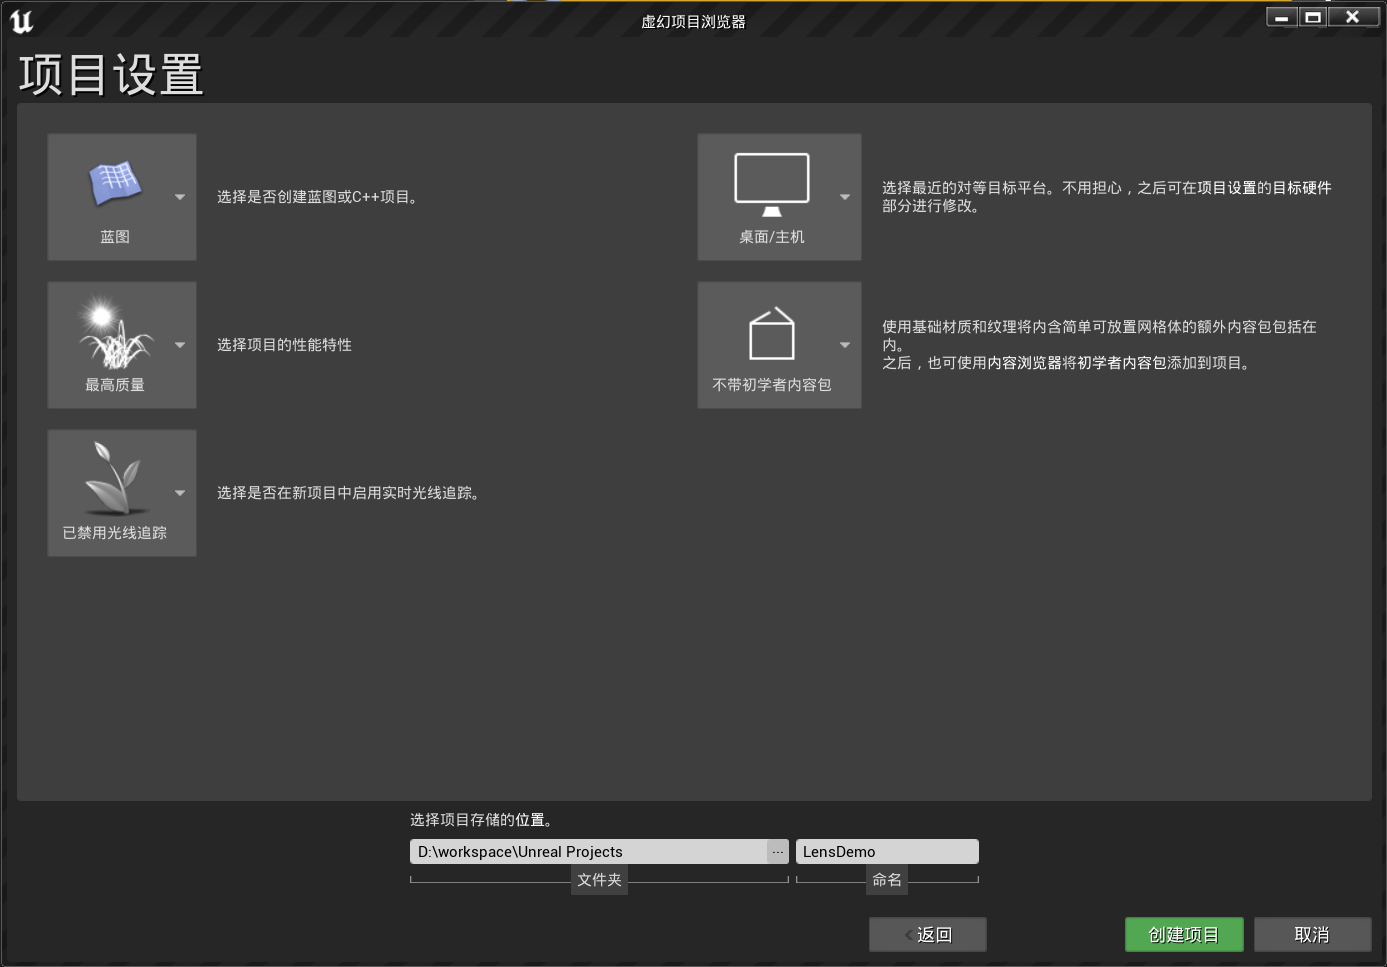
项目设置如下:
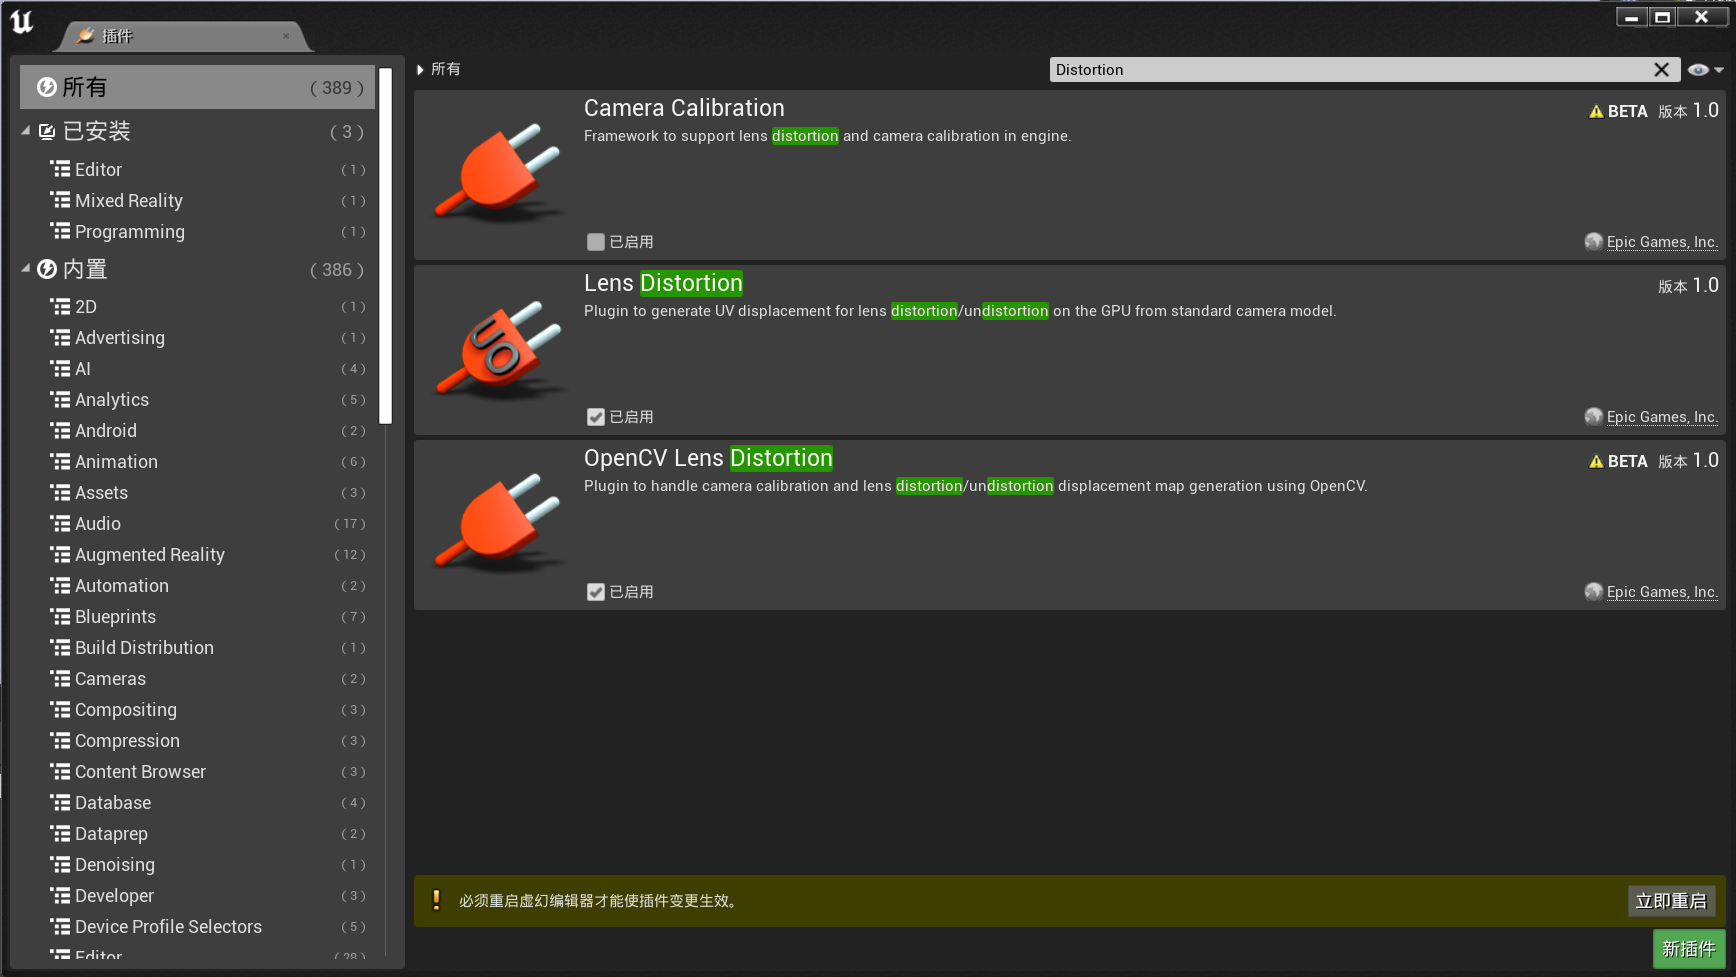
项目创建后,点击编辑器菜单栏“编辑”->“插件”,在插件对话框中搜素Distortion,启用Lens Distortion和OpenCV Lens Distortion插件,随后重启编辑器:
创建蓝图类
Lens Distortion和OpenCV Lens Distortion没有提供现成的界面、材质,而是提供了一组蓝图方法。话句话说,这两款插件并不是GUI ready的工具,而是两个library,我们需要自己编写蓝图类,在其中调用它们提供的方法。
在内容浏览器中,右键->创建基础资产->蓝图类:
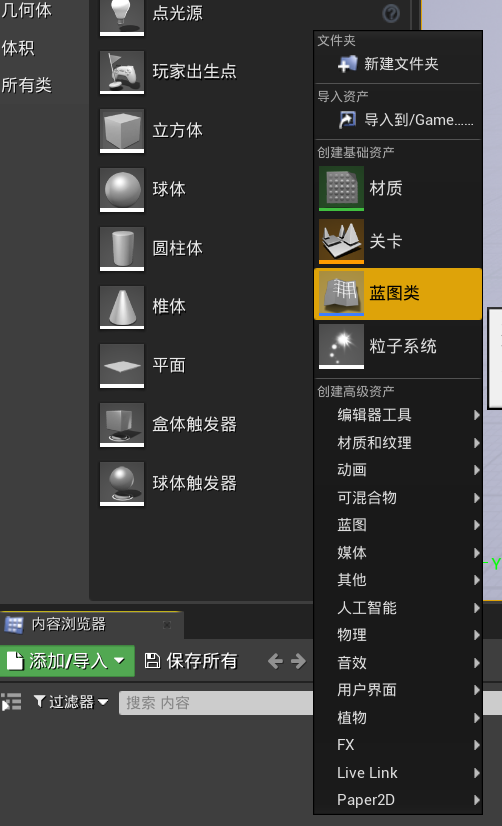
父类选择Actor。新建蓝图称之为”DMapCreator“。
双击新建蓝图,进入蓝图编辑界面
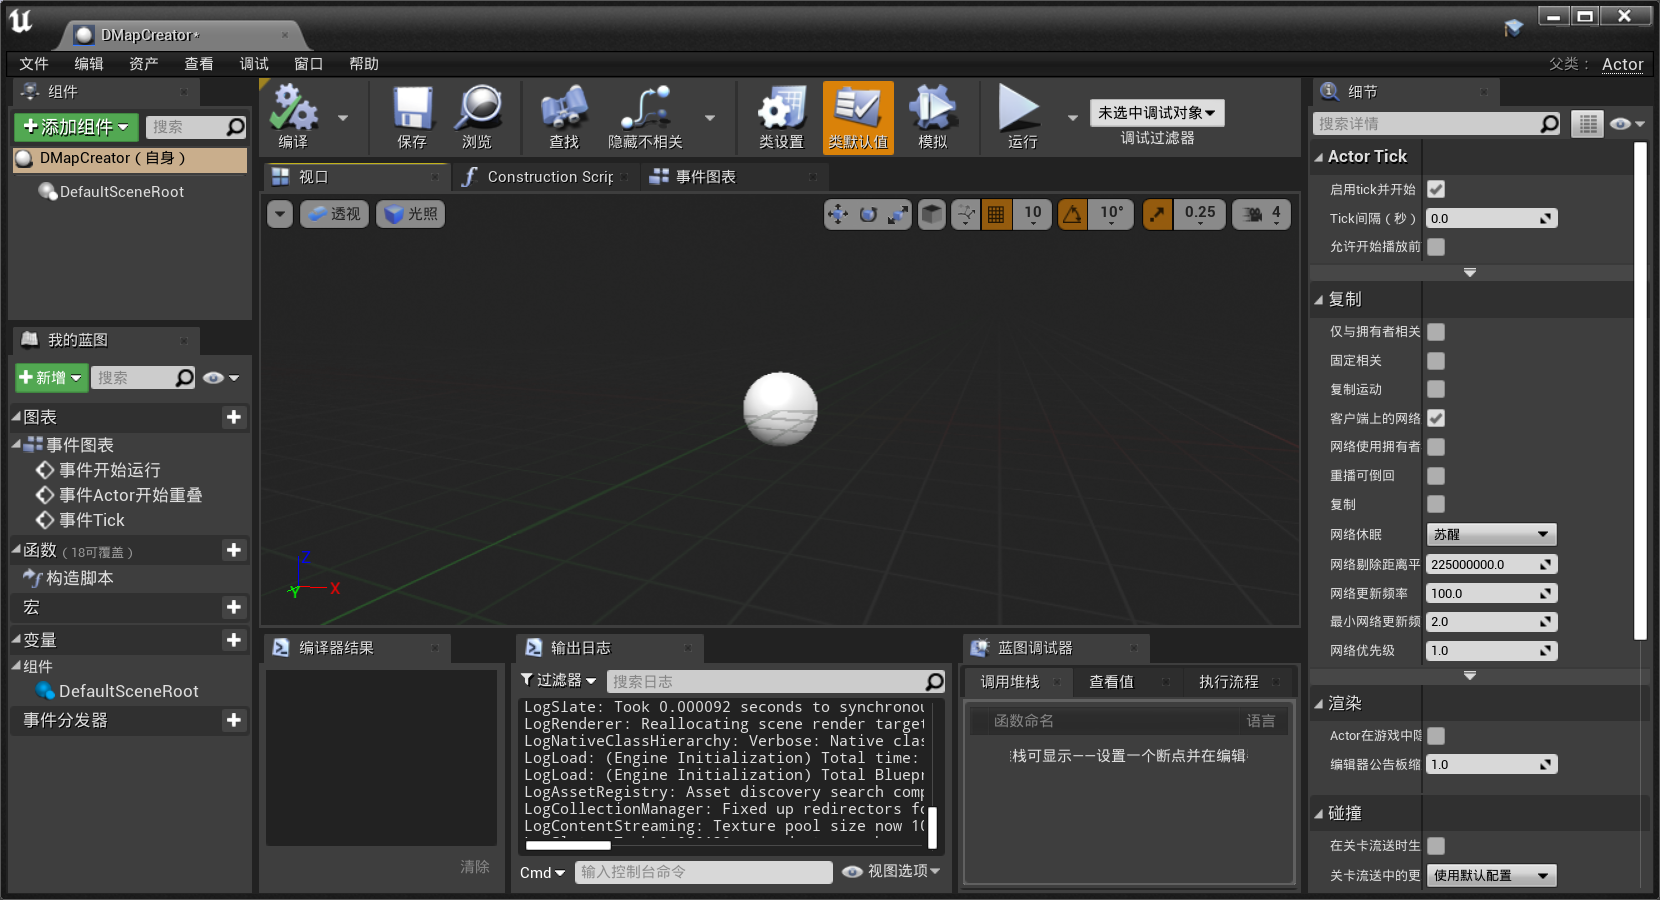
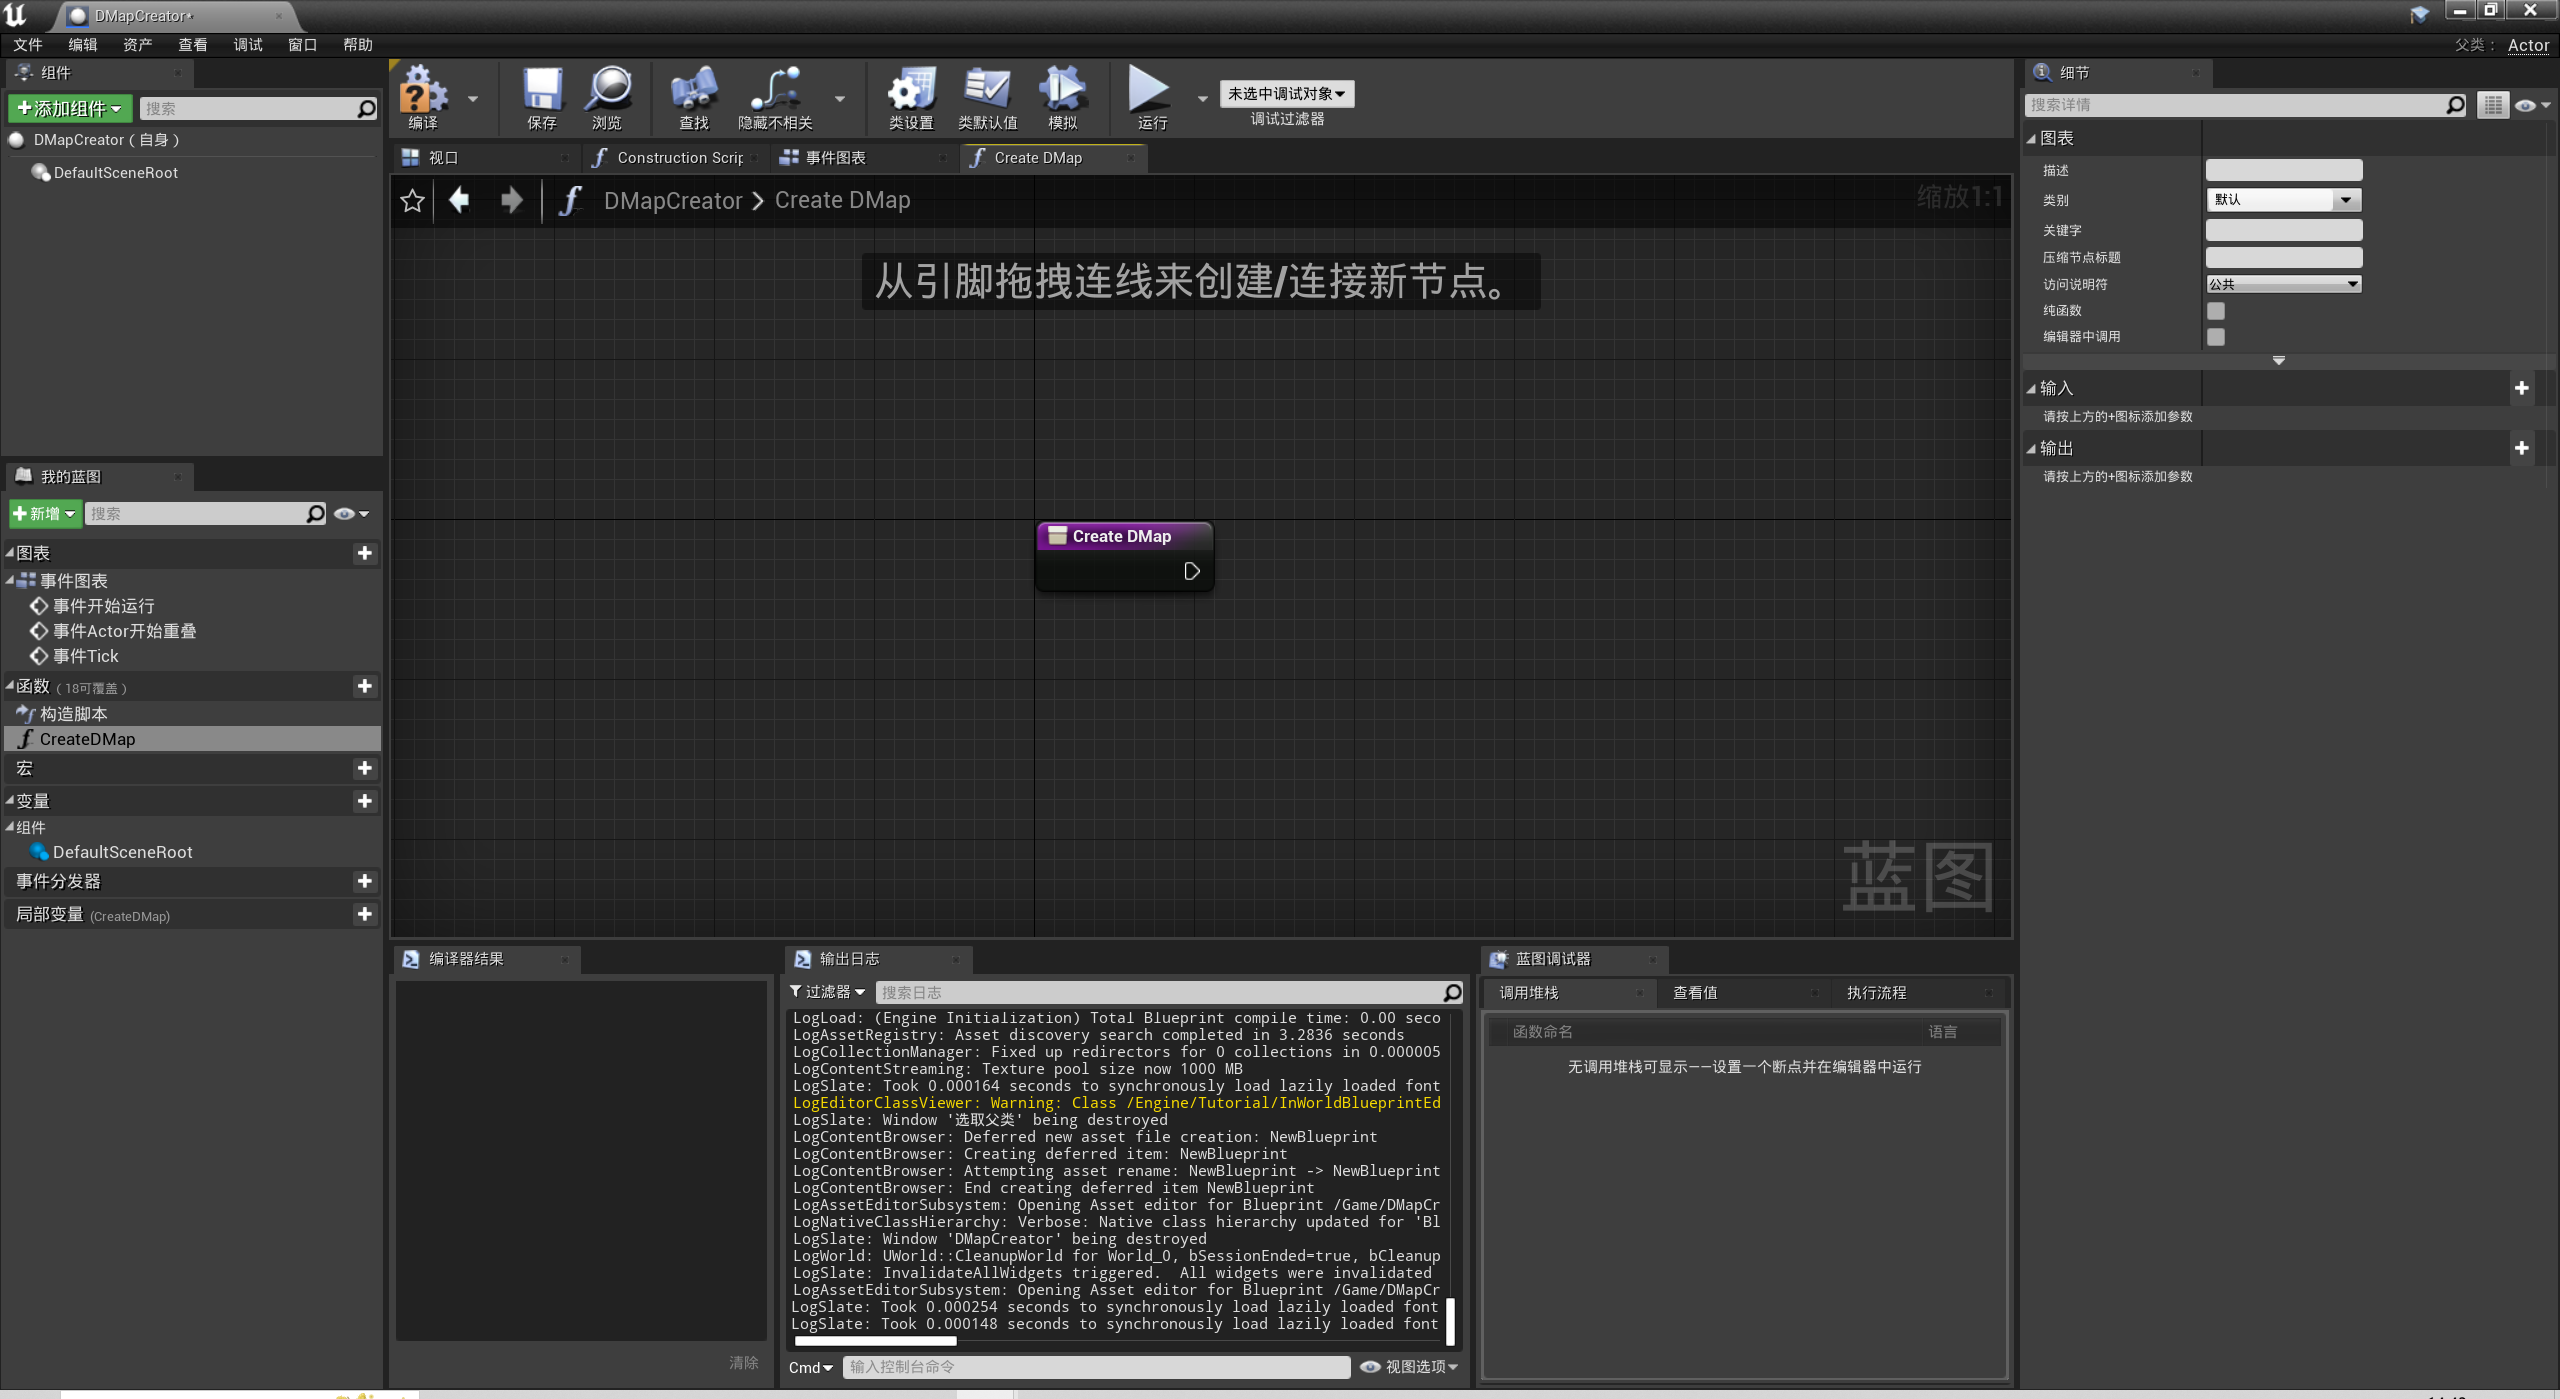
在左侧”我的蓝图“中,点击”函数"右侧的“+”按钮,新建一个函数,称之为“CreateDMap”,进入函数蓝图编辑页
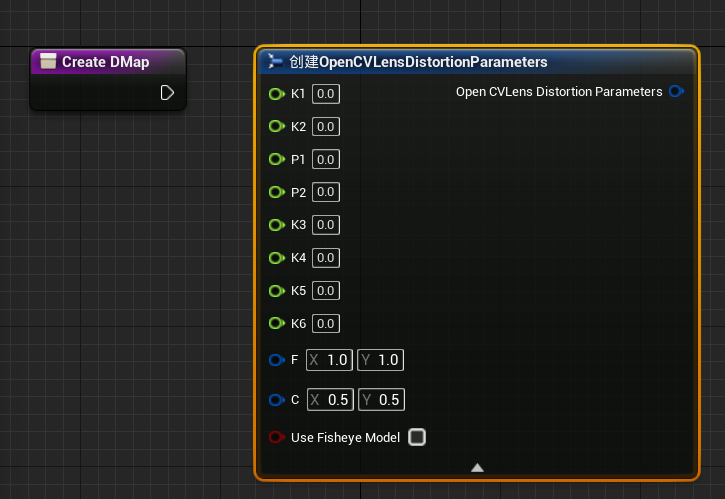
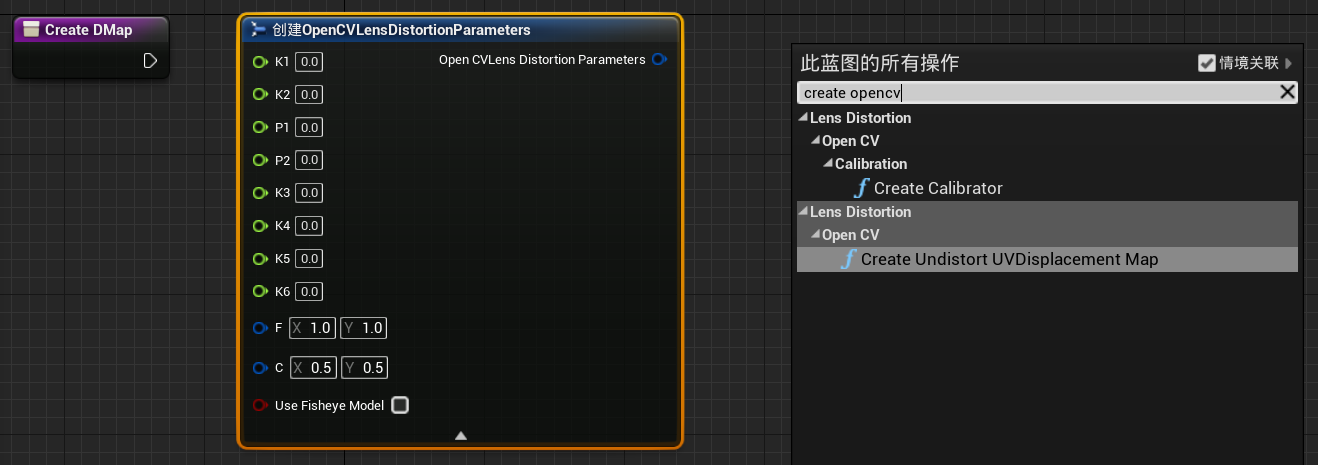
在页面中,点击右键,在弹出菜单中搜索“opencvlens”,点击”创建OpenCVLensDistortionParameters“

再次右键,选择”Create Undistort UVDisplacement Map“
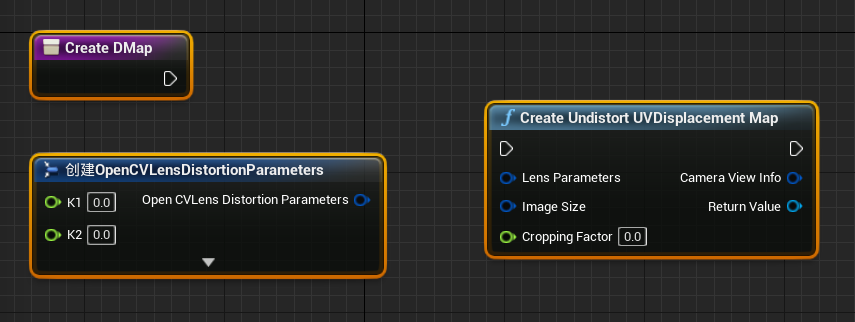
从Create Undistort UVDisplacement Map节点的Image Size拖出连接线,选择创建IntPoint
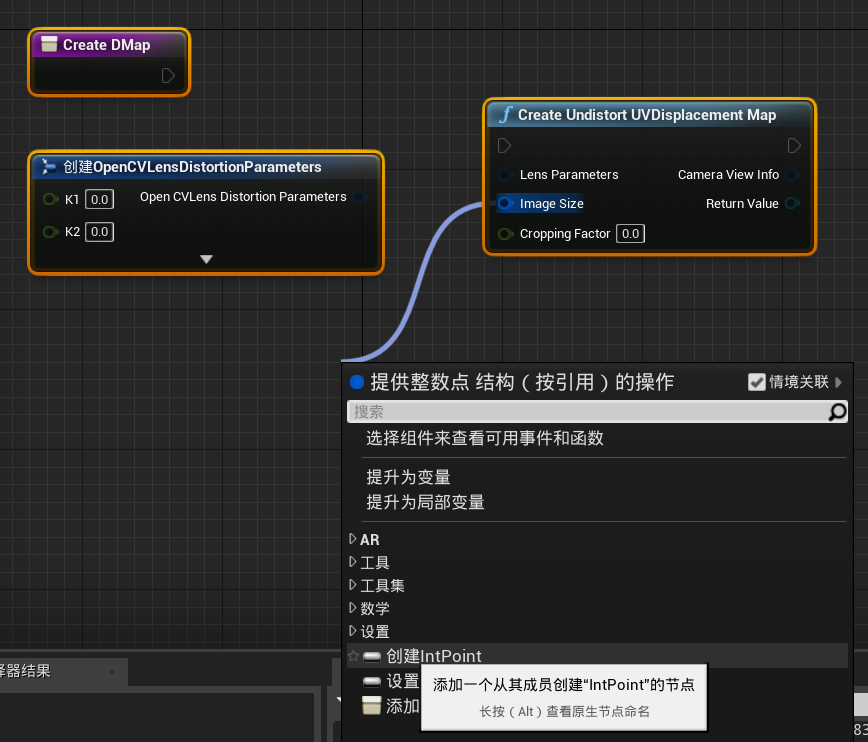
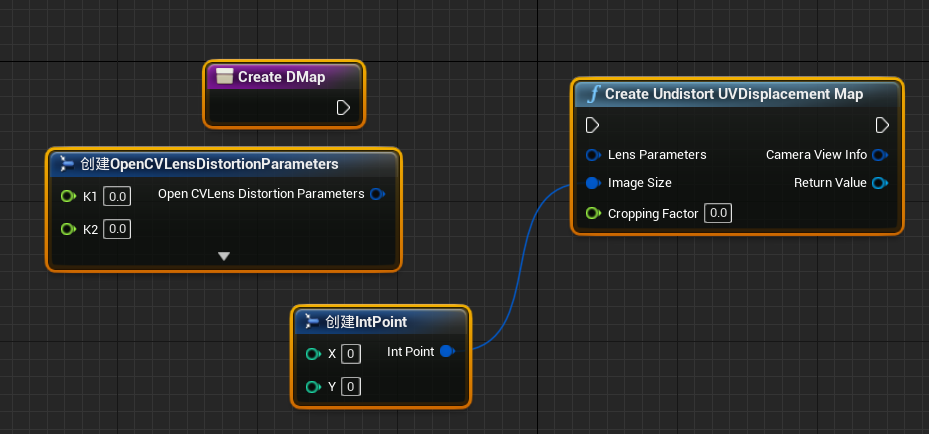
接下来,新建一个Draw Displacement Map to Render Target节点

连接节点,并按需填入相机参数:
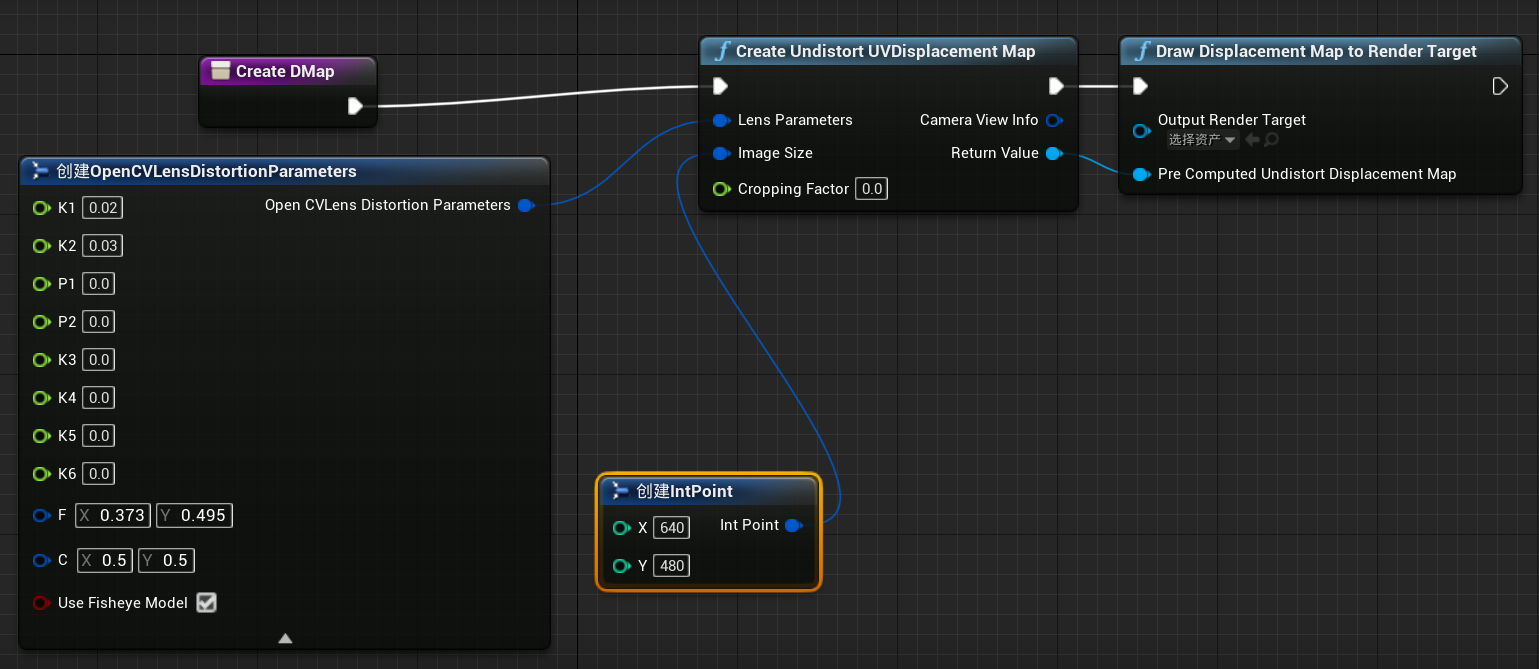
在填写相机参数时,注意Fx、Fy、Cx、Cy需要做归一化处理。
创建Render Target
上一步创建的蓝图中,Draw Displacement Map to Render Target的Output Render Target没有选择资产。我们需要添加一个Render Target,用于保存该节点的输出。
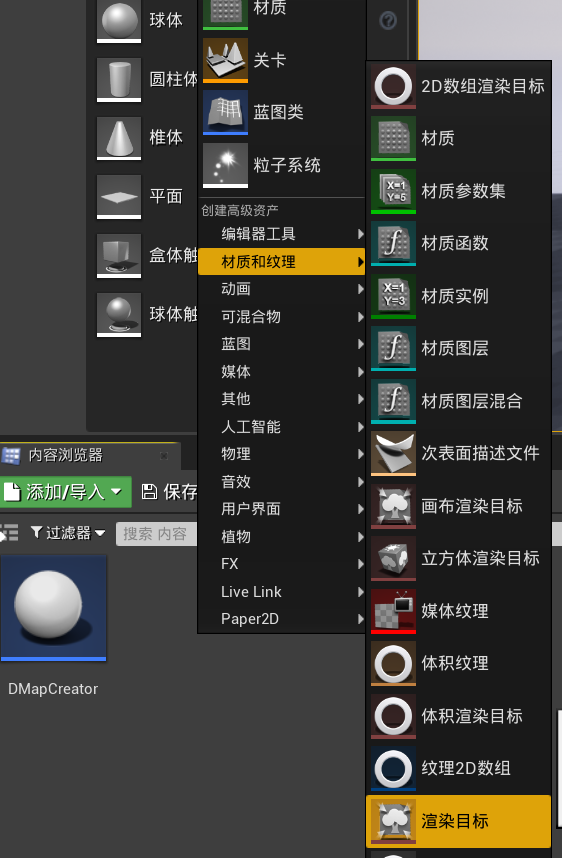
内容浏览器中,右键->创建高级资产->材质和纹理->渲染目标,命名为”DMapTarget“
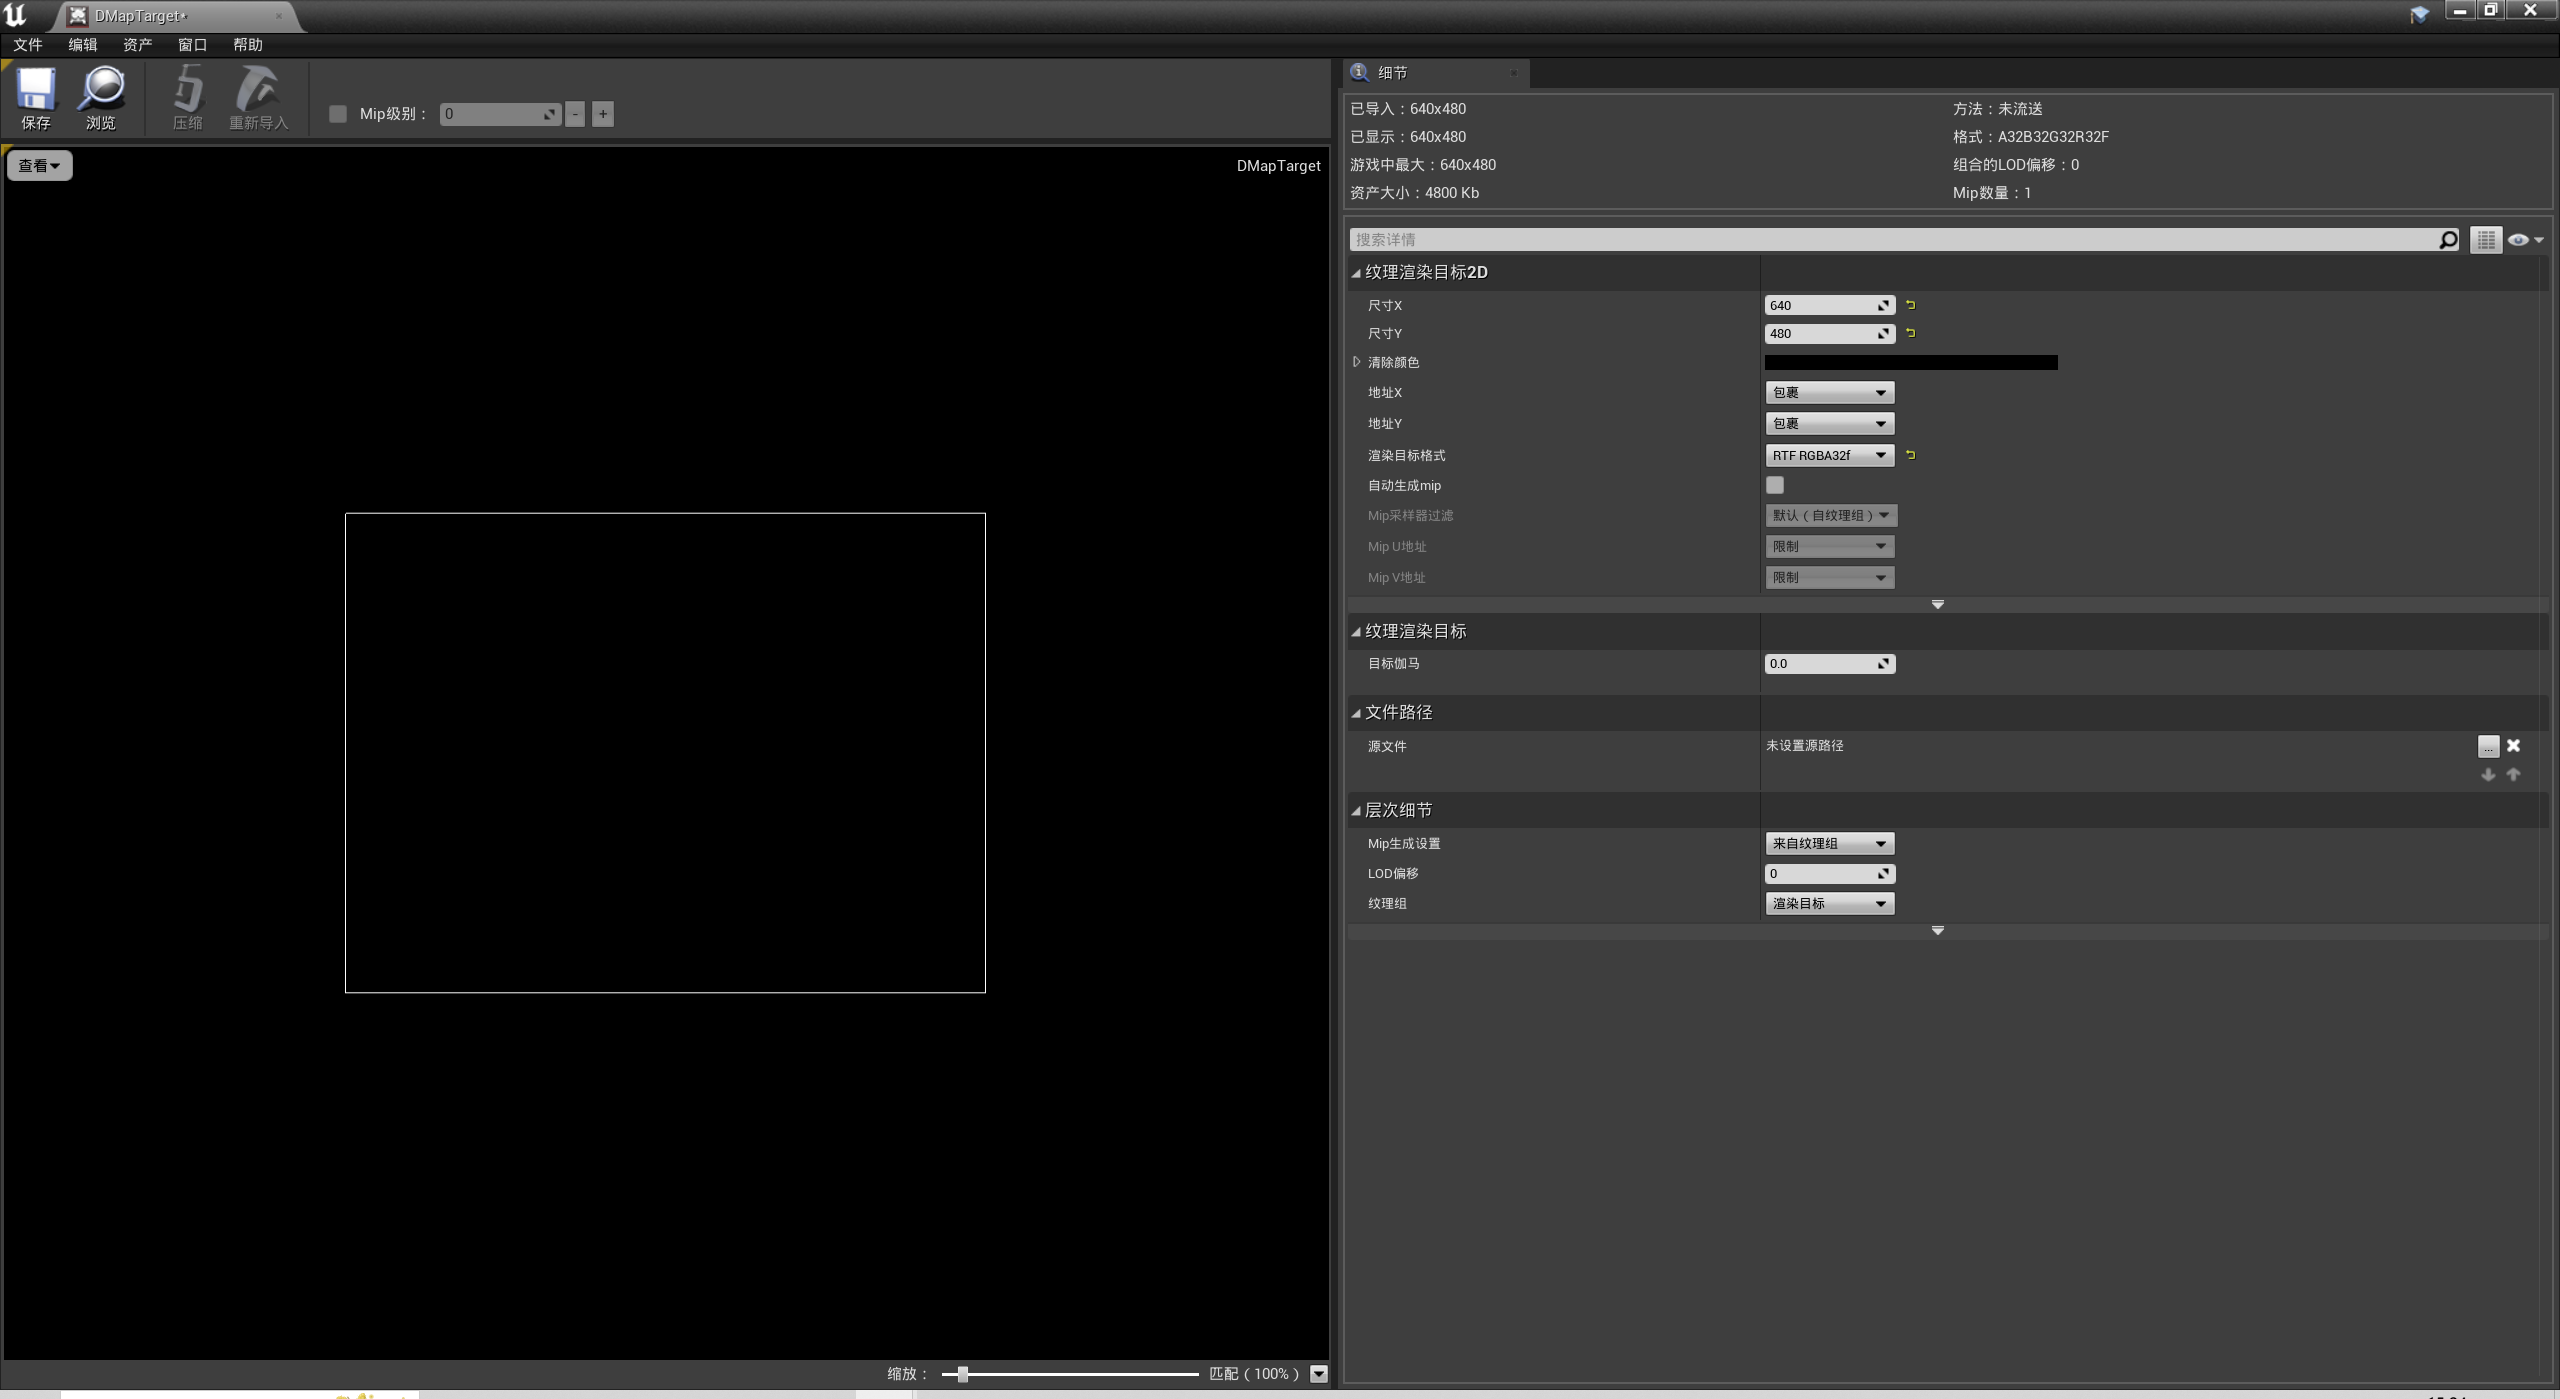
双击打开DMapTarget,调整目标尺寸为相机图片尺寸,这里设置为640x480,格式基于精度考虑使用RGBA32f
在蓝图编辑器中,将Output Render Target设置为”DMapTarget“:

我们希望每次点击运行,此蓝图都能被执行,更新displacement map。为此,在“事件图表”中右键,搜索“beginplay”,添加“开始运行”事件
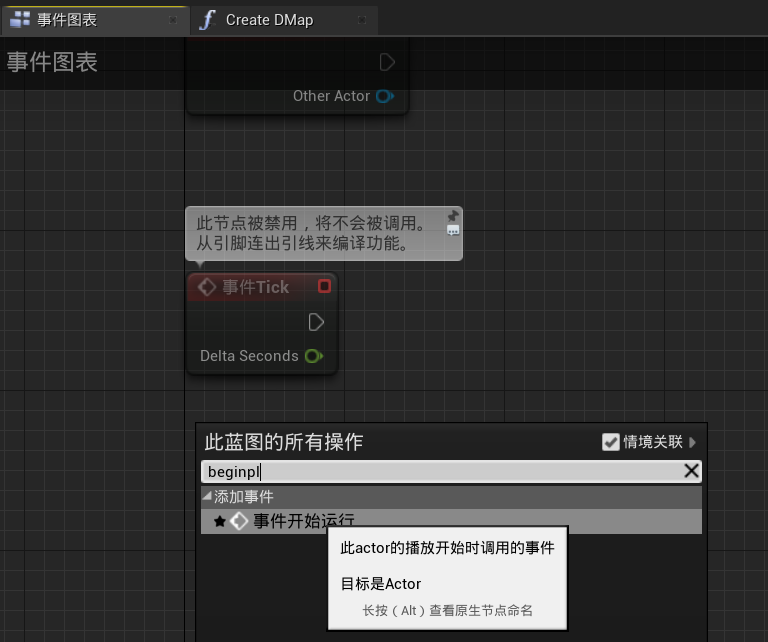
新建一个CreateDMap节点,将事件连接到它
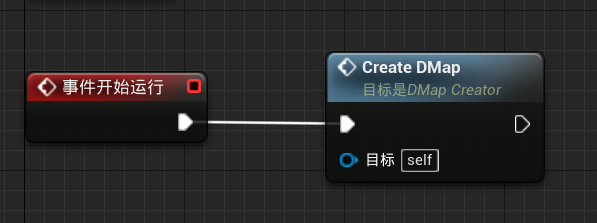
现在蓝图类和Render Target都已就绪,可以准备运行,看Render Target是否会被更新了。在运行前,先拖一个DMapCreator到场景中,并保存当前关卡
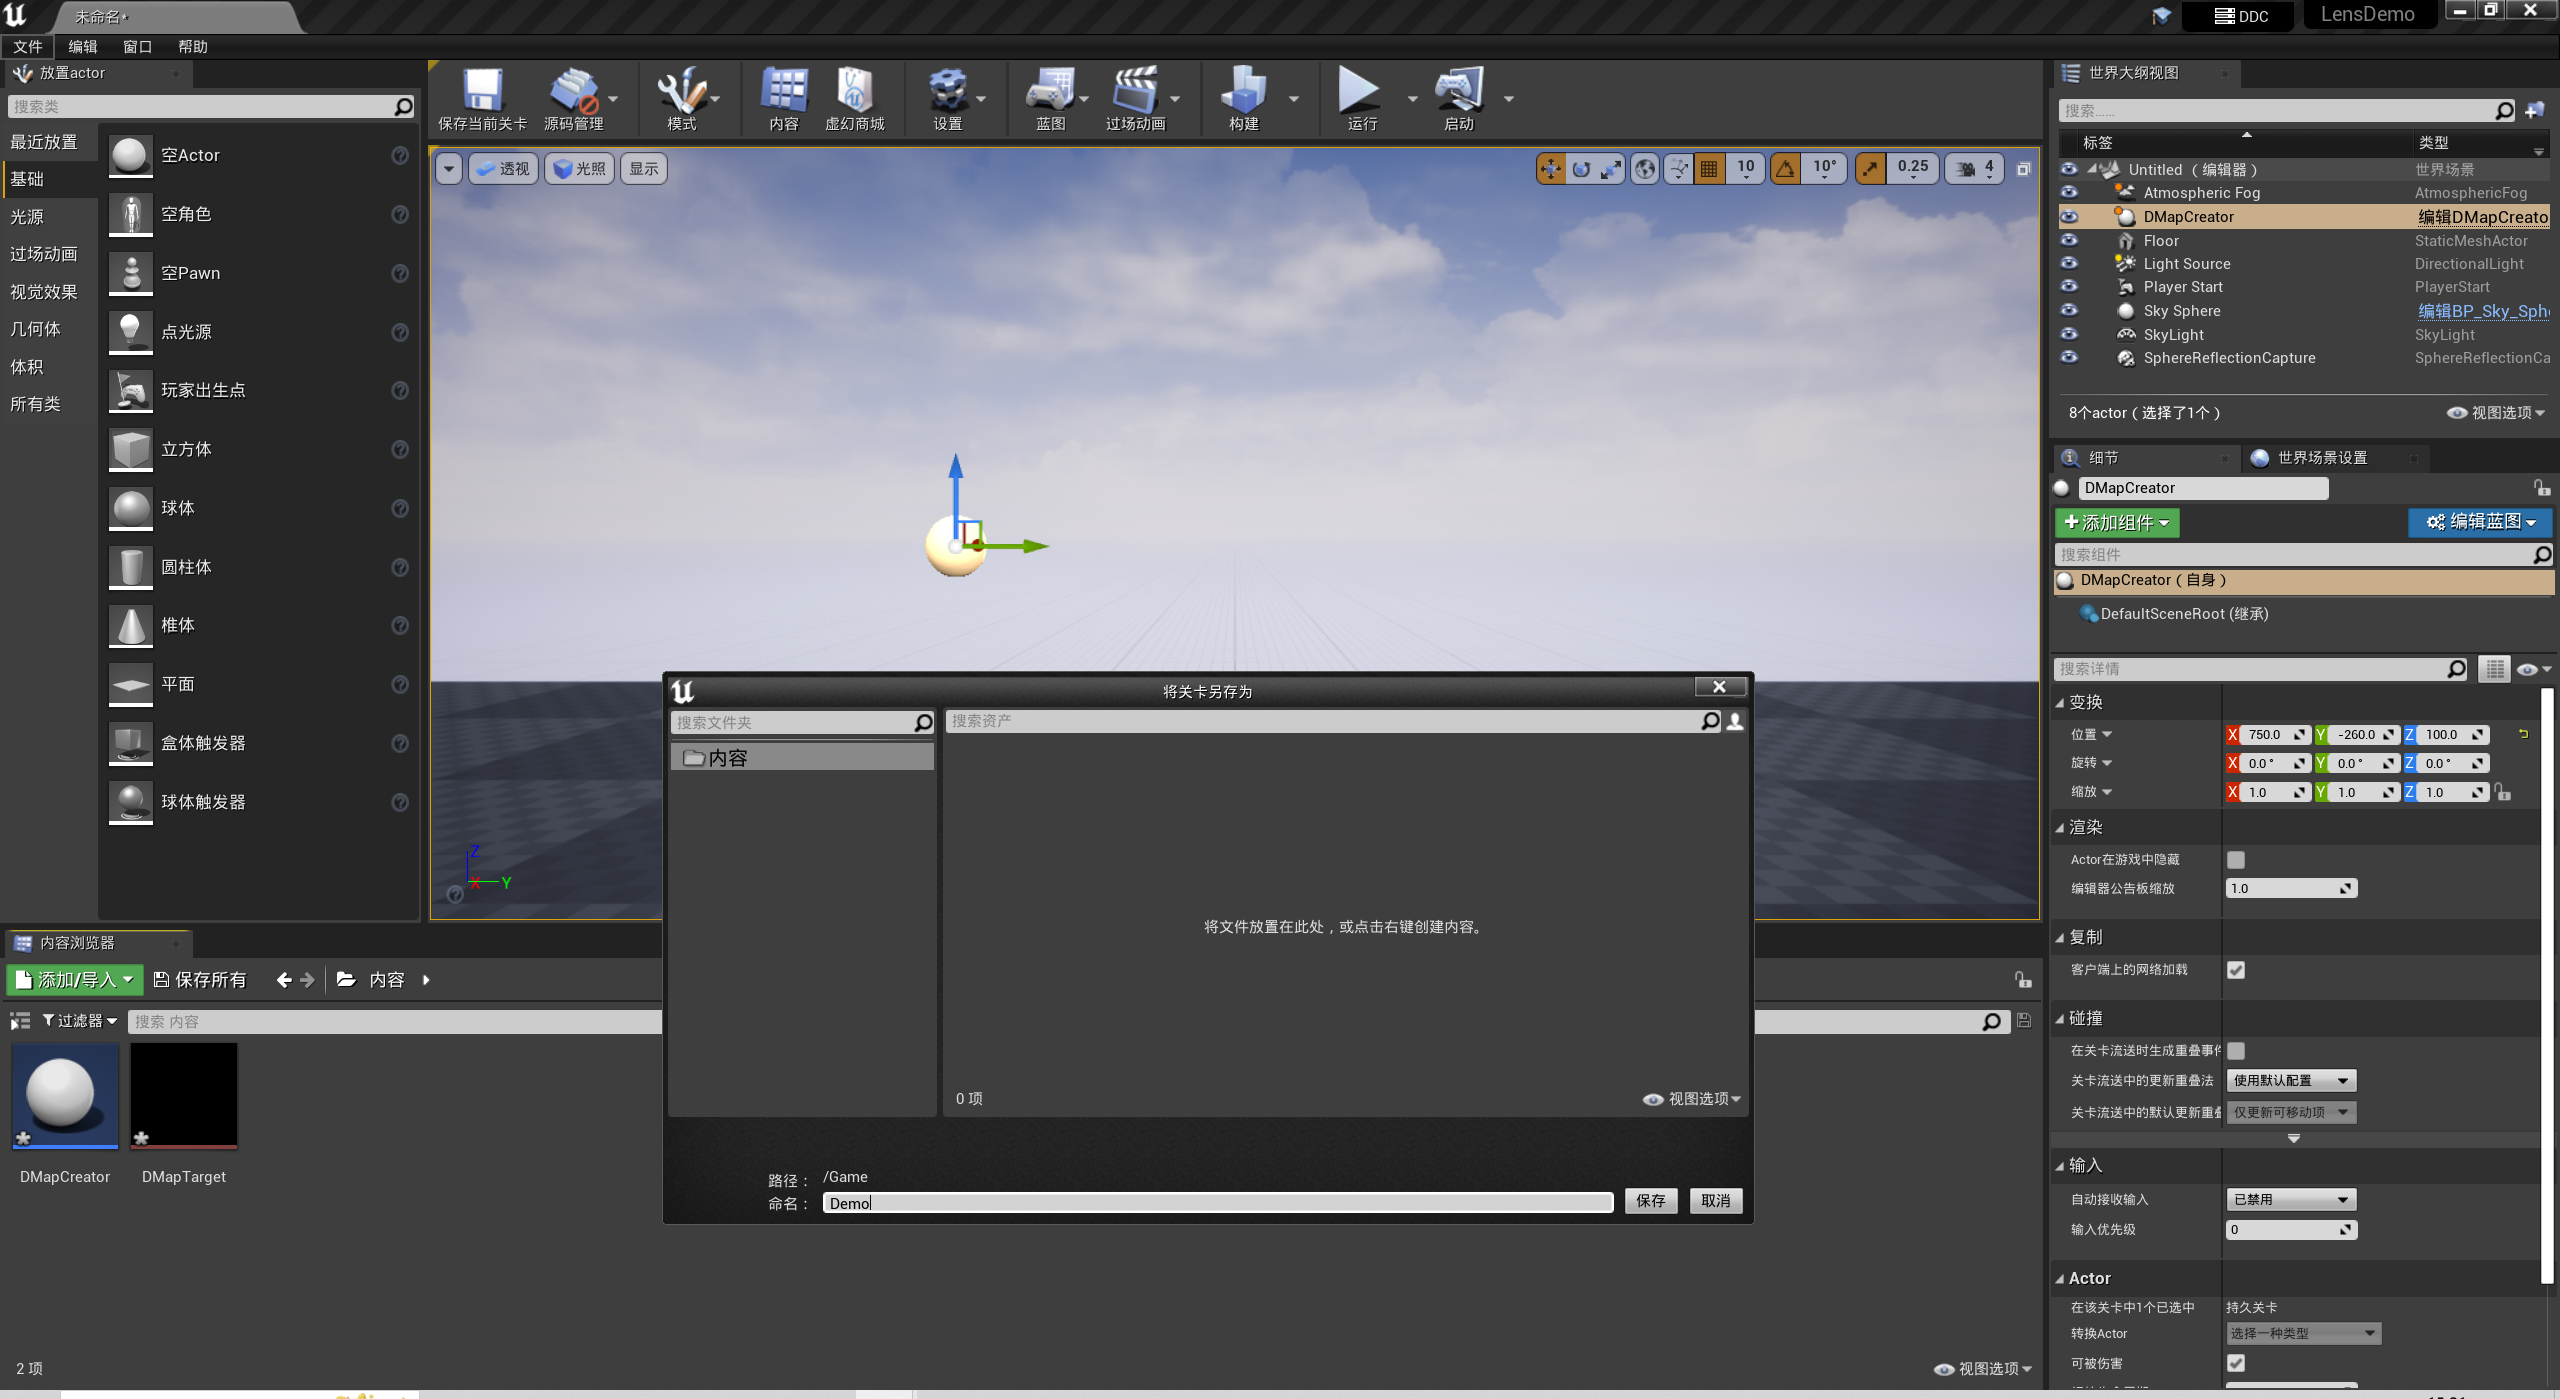
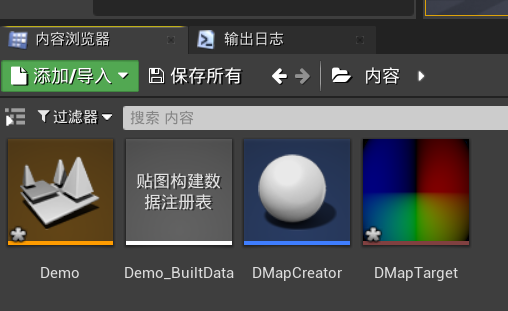
随后点击右上角”运行“,如果蓝图执行正常,应当看到DMapTarget的内容由纯黑变为彩色的RGBA图
如果DMapTarget没有发生变化,可以点击菜单栏“窗口”->“开发者工具”->“输出日志”,在日志窗口中查看是否有报错信息
创建Post Process Material
内容浏览器中,右键新建一个材质,命名为DMapMaterial。打开后,在“细节”->“材质域"中,由“表面”切换为“后期处理”
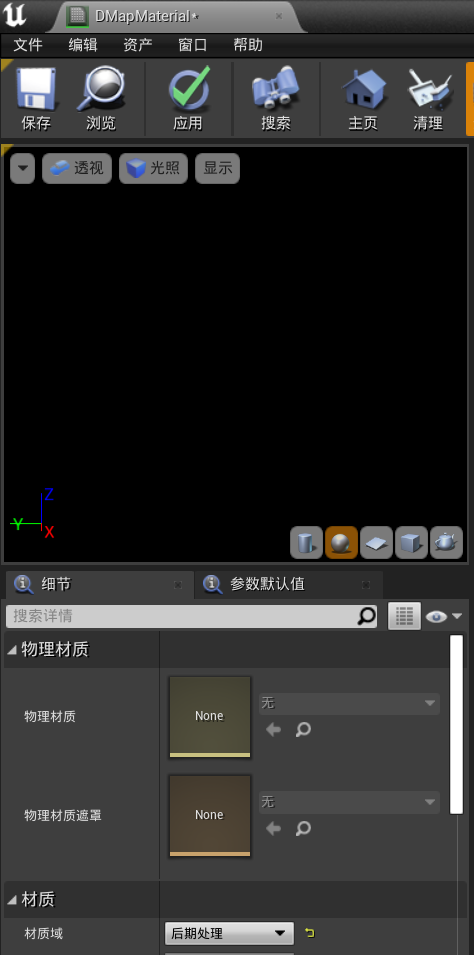
节点的设置与连接基本参考UE中的相机标定、畸变模拟与矫正 - Unreal Engine而来,这里不再一一说明节点的新建和连接。最终效果是:
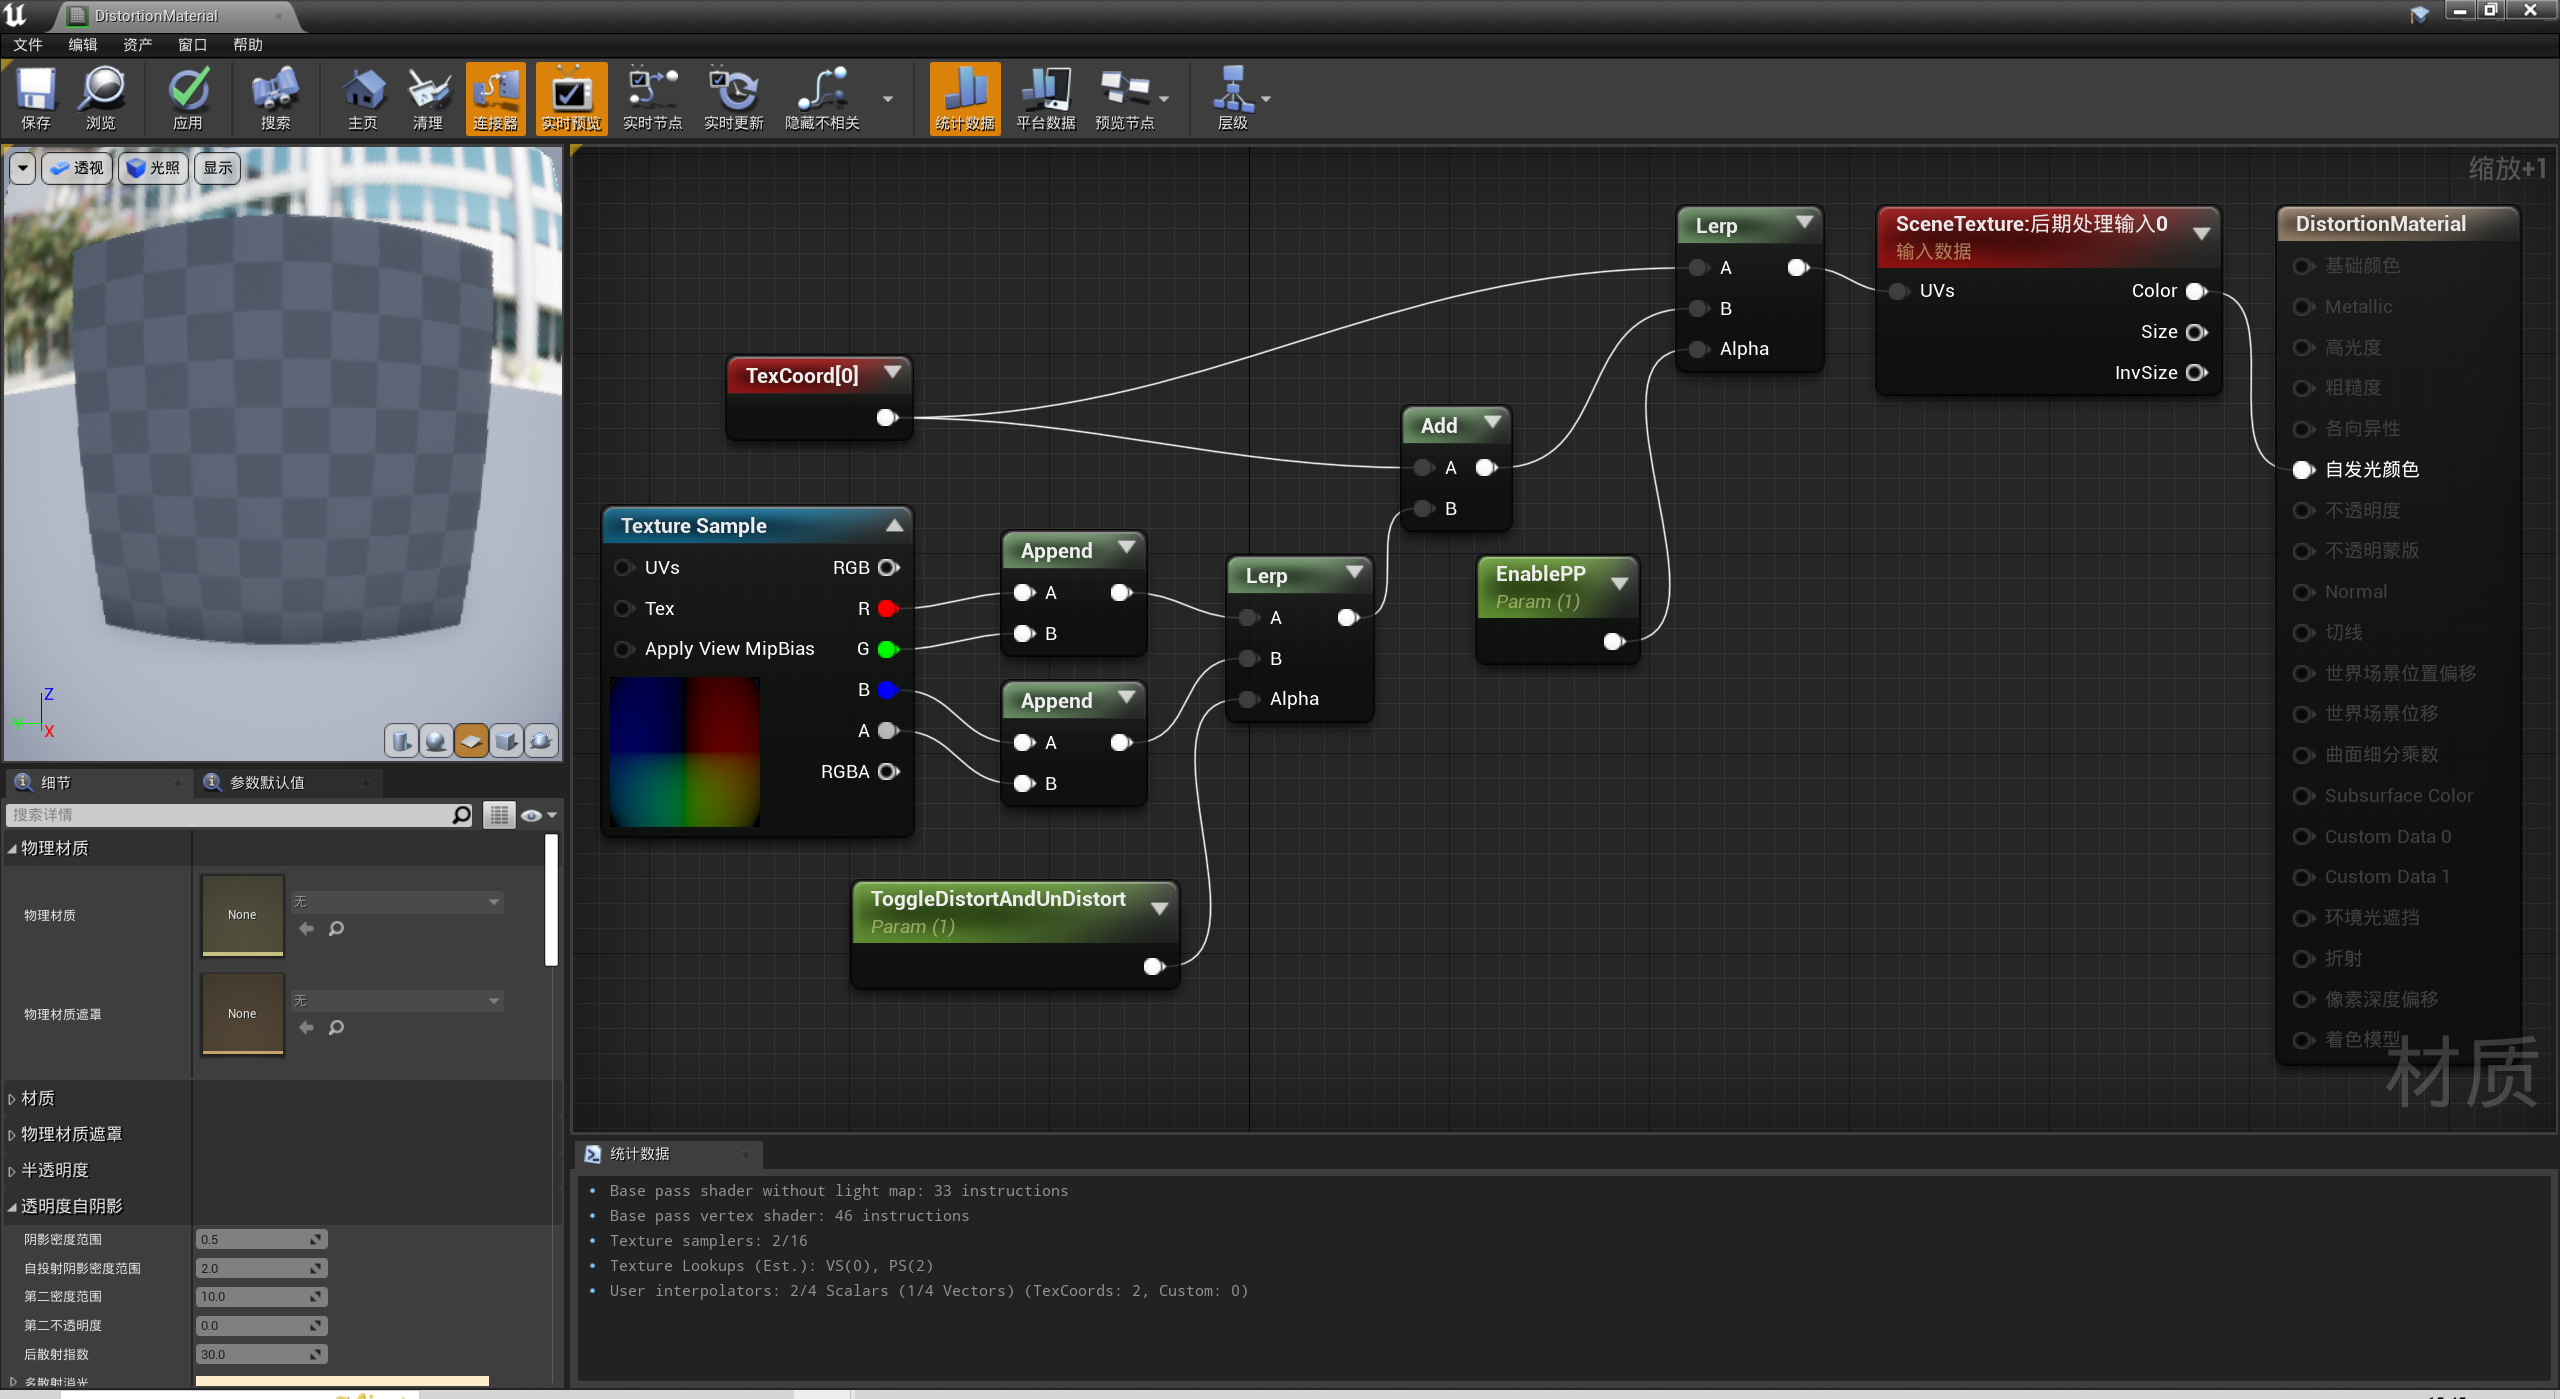
流程的要点概括如下:
- DMapTarget(displacement map)的R、G通道保存畸变矫正的uv offset;B、A通道保存畸变模拟的uv offset
- 如果ToggleDistortAndUndistort设为1,则Lerp函数输出B、A通道的uv offset,效果是模拟畸变;反之输出R、B通道的uv offset,效果是矫正畸变
- 如果EnablePP设为1,则Lerp函数会使用输入B,也就是使用偏移过的uv,即启用这个Post Process;反之使用原始的uv,图像保持不变
添加CineCameraActor
现在Post Process Material也已就绪,可以在场景中测试其效果了。
往场景中添加一个平面Actor(如果你启用了Camera Calibration插件,可以选择添加一个标定板Actor),按需调整其位姿和缩放比
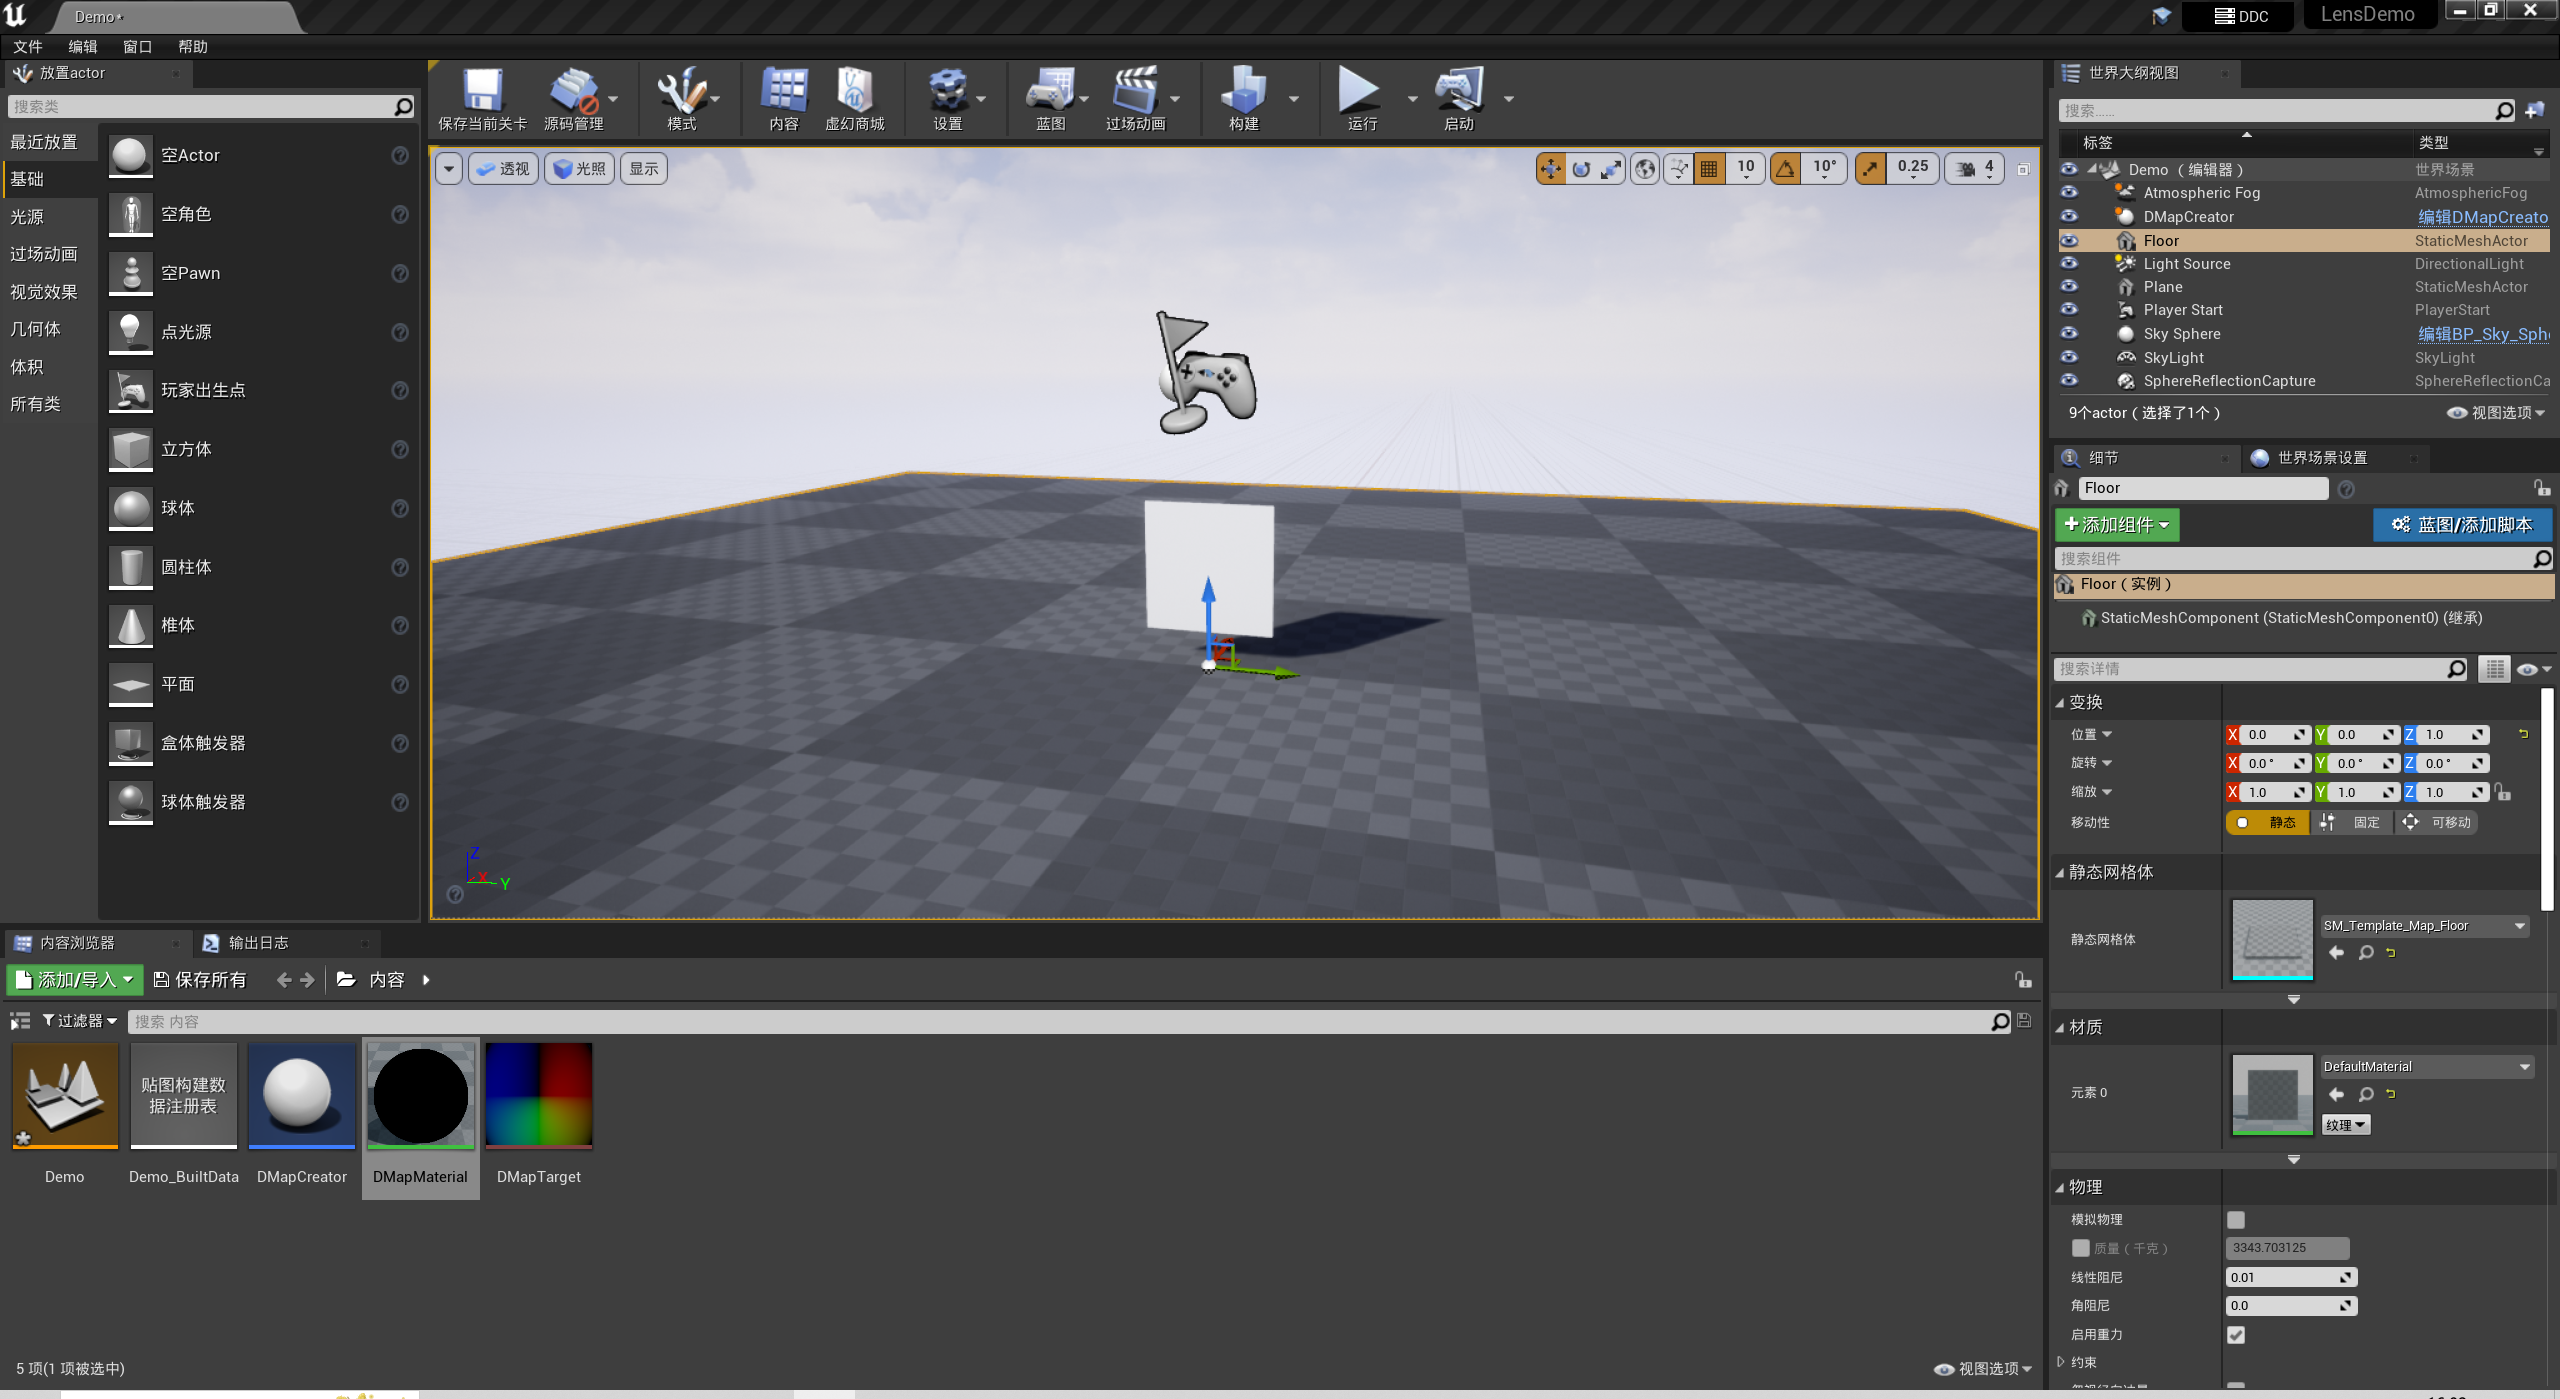
再拖入一个CineCameraActor,调整其位置,使平面位于视野内
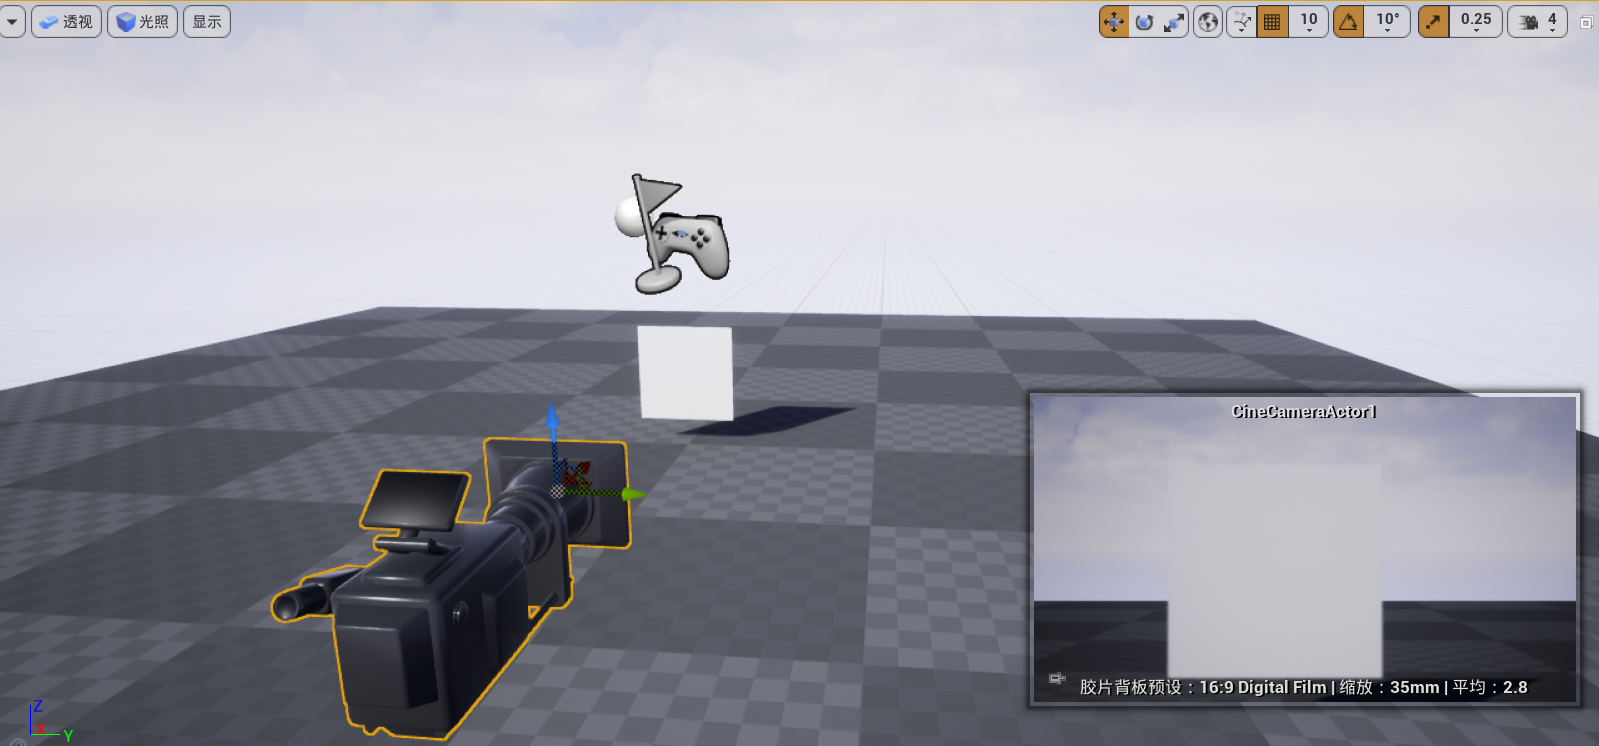
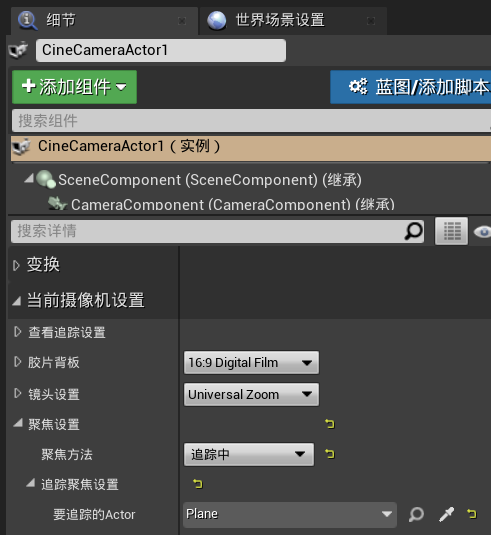
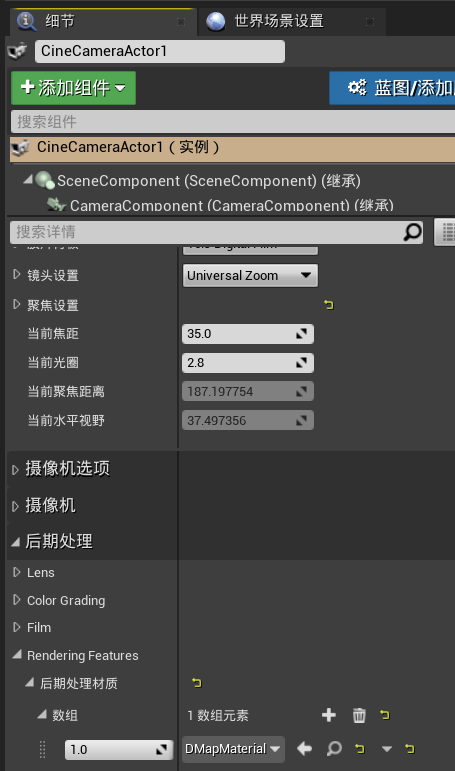
在“细节”栏里,按需调整相机参数,比如保持聚焦到平面上:
在后期处理->Rendering Features,设置DMapMaterial为后期处理材质
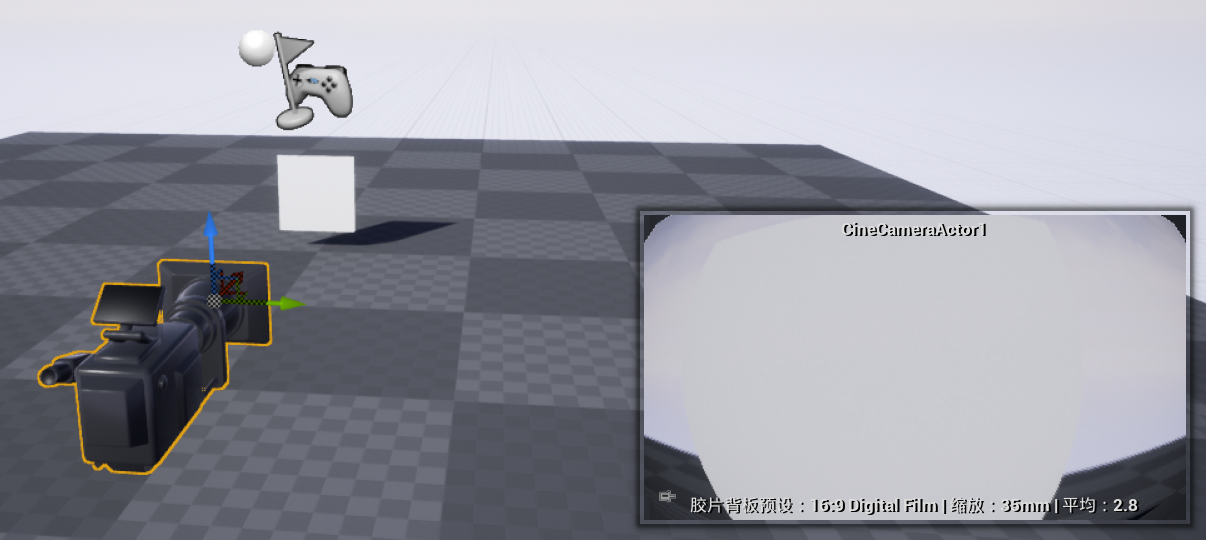
可以看到镜头的画面出现了畸变
补充
注意,不管是Lens Distortion,还是OpenCV Lens Distortion,都只能模拟镜头的畸变,而不能模拟镜头的FOV。如果要仿真广角镜头(如鱼眼),建议通过对cubemap采样的方式来实现。